Metal's actually pretty easy. Here, lemme show you my process.
1. Dump a metal texture.
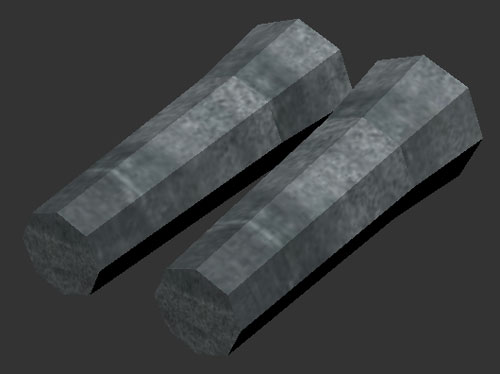
2. Preshade with a combination of pattern-stamp and Multiply for dark zones. Pattern-stamp with a lighter version of the metal (I have about 8 different "steels" I use) or just use the Dodge tool, or a combination of both, to make the metal highlights.
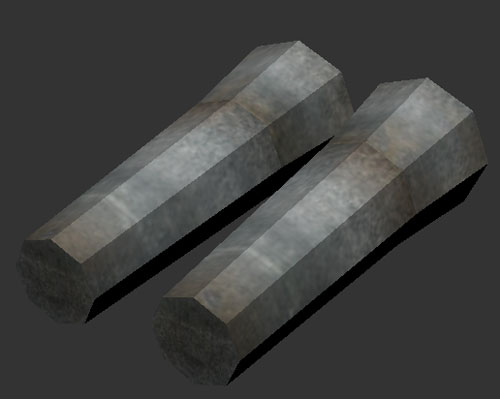
This is the part that looks hard. It's not. I just redid this from scratch, in about 2 minutes. The real key is to keep it reasonably subtle, unless you want a 'toon look. Keep in mind that the engine will do a fairly good job with lighting, so there isn't any reason to exaggerate it beyond a certain point.
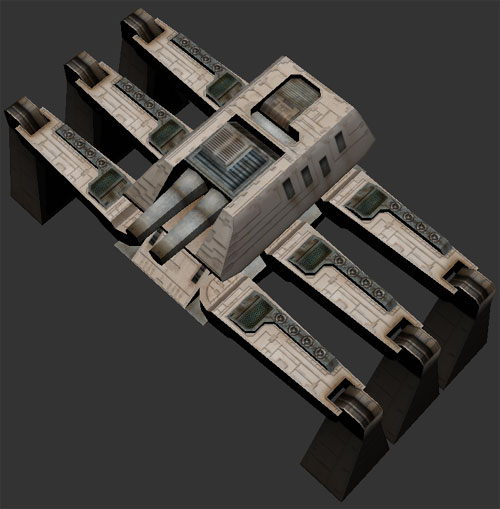
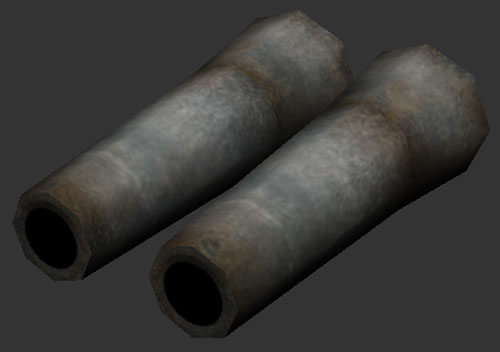
3. Add detail, and then preshade a bit more, when you have a better feel for how light is interacting with the surface. I don't always do two preshading steps, but pretty often. Note the extra "grease stains" at the barrel joints (the barrel's in two pieces, for recoil) and around the muzzle, and the darker muzzle.
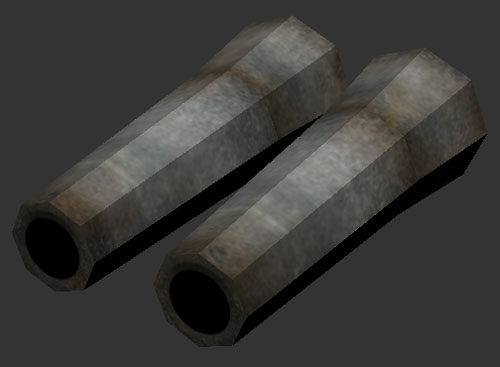
4. If you're viewing it flat-shaded, which is how I do it while painting, then you might want to weld it at the end, just to make sure it will look good when rounded, etc. Usually, I don't bother, since I know what Spring will do with it when I do this step in UpSpring.
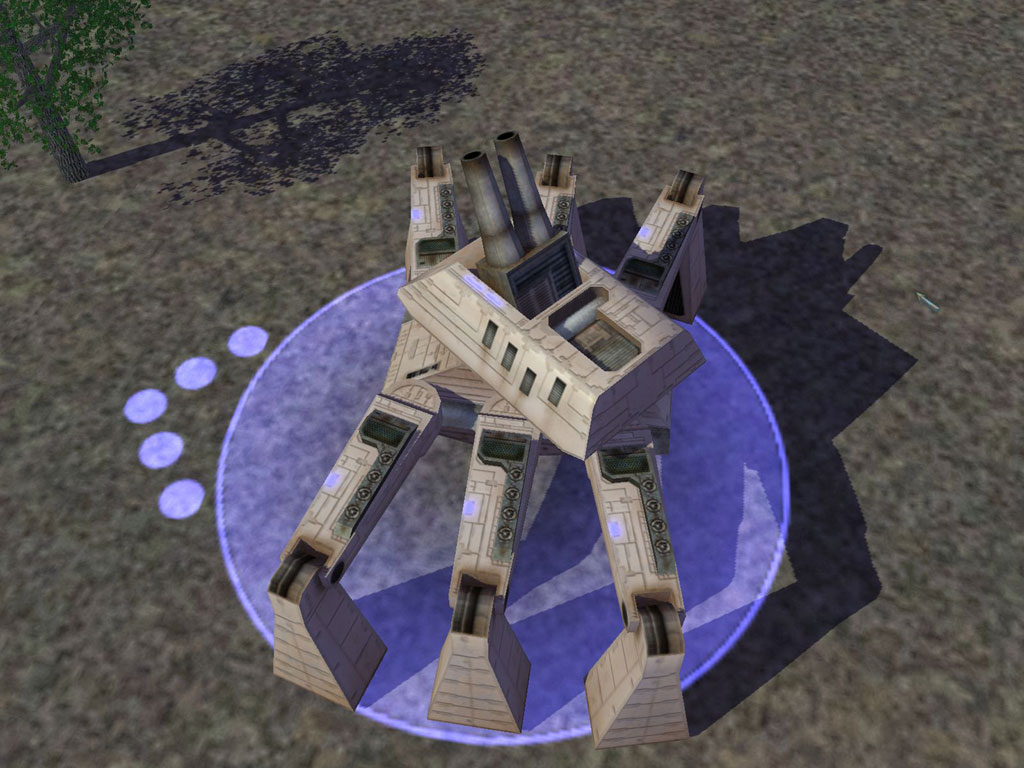
There ya go... easy metal. Nothing to it, really. I painted that in about 4 minutes, it took longer to type this and make the illustrations than to paint it. Compared to all of the custom work on the armor, it's trivial really.
Lastly, for surfaces like the metal bits on the upper legs, I put the greebles on first, before beginning any shading steps, just to save some time, since everything there is metallic. That may not be appropriate in some cases- for example, a painted greeble needs a different approach.
Anyhow, that's how I do it, because it's simple, fast, and really quite easy. The only times it can be difficult is when you're working with certain metals like copper and brass, which have a very specific verdigris and patterns of wear. For those metals, I strongly recommend looking at reference photos to get them right- and they usually require quite a lot of airbrush.
Oh yeah... and one last hint. If you want to be able to do this kind of thing quickly and easily, how the piece is unwrapped is entirely the key. For example, the seam is on the bottom, and depending on the piece, I either unroll it with Wings, in a nice relaxed way, or distort it a bit but get it true-flat with UVMapper Pro.
Unless it's something where I think players will see it, I just leave the seam, and don't worry about hiding it. However, if I need to hide it, I generally take the texture from about 16-32 pixels in on one side, make a new layer, flip it, then put it on the other side, using the eraser a bit to hide the transition with the other side, and little touchups. It doesn't hide the seam perfectly, but it's mirrored and therefore "close enough" for all but the biggest objects.
The above might sound like, "duh", but many of the uvmaps of people's stuff I've inspected over the years don't have this simple, time-saving thing done. 30 seconds more work on a uvmap can save you many minutes of painting time.